Getting Started with Meta Business Verification
Step 1: Check Your Verification Status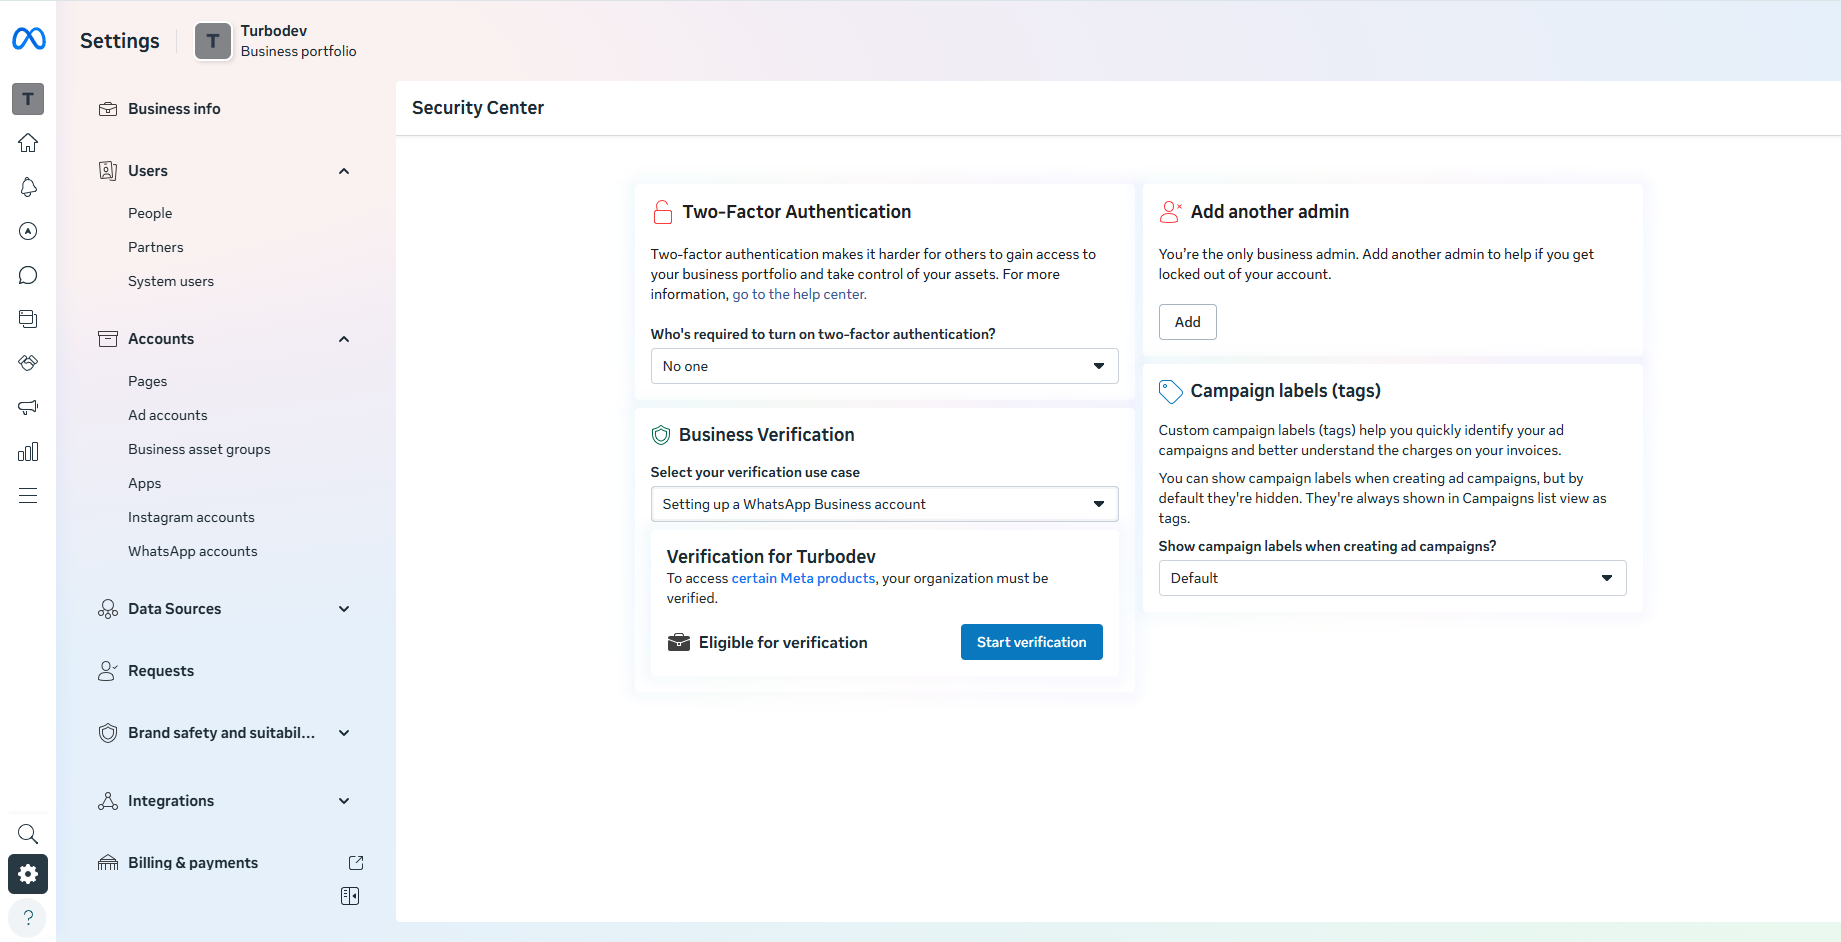
- Log in to Meta Business Manager
- Click Business Settings
- Navigate to Security Center
- Review your current Business Verification status
Preparation for Meta Business Verification
To improve approval chances, make sure the following are in place:- Your business website is active, secured with SSL (https), and clearly shows:
- Business name
- Address
- Phone number
These details must match your Meta Business Manager information.
- If you plan to verify via email/domain, use an email address that matches your website domain (e.g., info@yourcompany.com).
- For phone verification, ensure the number can receive calls or SMS.
If IVR is enabled, temporarily disable it. - Your business or trade name should be consistent across:
- Website
- Meta Business Manager
- Legal documents
(If names differ, they should clearly reference the same business.)
Documents Required for Business Verification
Meta requires businesses to submit official documents that verify their legal business name, address, and phone number.The accepted documents vary by country. Meta cross-checks submitted details with official government records (such as the Ministry of Corporate Affairs (MCA) in India). Because of this, it’s extremely important that all documents are accurate, up to date, and consistent with the information entered in Meta Business Manager.
Accepted Business Documents
Meta provides a country-wise list of acceptable documents for business verification.You can view the complete and most up-to-date list here: Meta’s Accepted Business Documents
https://www.facebook.com/business/help/159334372093366 Commonly accepted documents include:
- Certificate of Incorporation
- Business Registration or License
- GST Certificate
- Business Bank Account Statement
- Utility Bill (for address verification)
- The business name on the document must exactly match the name entered in Meta Business Manager.
- Address and phone number must be clearly visible.
- Documents must be valid and not expired.
- Upload clear, readable scans or images.
- Select the correct document language while submitting to ensure faster review.
- Open Meta Business Manager
- Go to Business Settings
- Scroll to Security Center and click Start Verification
- Enter your business details:
- Legal Business Name
- Address
- Phone Number
- Website
Ensure these match your official documents.
- Select your business from the suggested list shown by Meta
- Confirm the business details to be displayed on your Meta profile
- Upload a supporting document to verify your legal business name
- Select the correct document language for faster review
- Upload documents to verify your address or phone number
- Choose a verification method:
- Phone call
- Domain verification
- Enter the verification code received and submit
Review Process and Approval Timeline
- Meta’s review process can take 3 business days to up to 4 weeks
- You’ll receive an email once verification is approved
- You can also track progress inside the Security Center
After Verification
Once your business is verified:- You gain access to higher WhatsApp messaging limits
- You can run campaigns, broadcasts, and automations smoothly via Turbodev
- Your business credibility improves with Meta
Business Verification is different from the WhatsApp green tick (Official Business Account). Each serves a different purpose and requires separate approval.
If the Verification Button Is Not Visible
If you don’t see the verification option:- Complete all Business Info in Meta Business Manager
- Ensure your WhatsApp Business API is properly set up with Turbodev
- The verification option usually becomes available once prerequisites are met